


You don’t have to be an artist to create something awesome out of fuse beads!

My digital fuse bead patterns take the guesswork out of creating. Just follow the design, match your bead colors, and watch your project come together.
They’re a fun way for kids, families, homeschoolers, teachers, and craft lovers to explore pixel art and enjoy a hands-on activity. Whether you’re making your first fuse bead creation or looking for new designs to try, there’s plenty of crafty fun waiting!
Made By a fuse bead artist with 13 years of hands-on experience.
Scroll through to see how it works and find a pattern to start creating today!
Fuse BEAD Patterns:
Download, Print & get Crafty!
Bead by Color
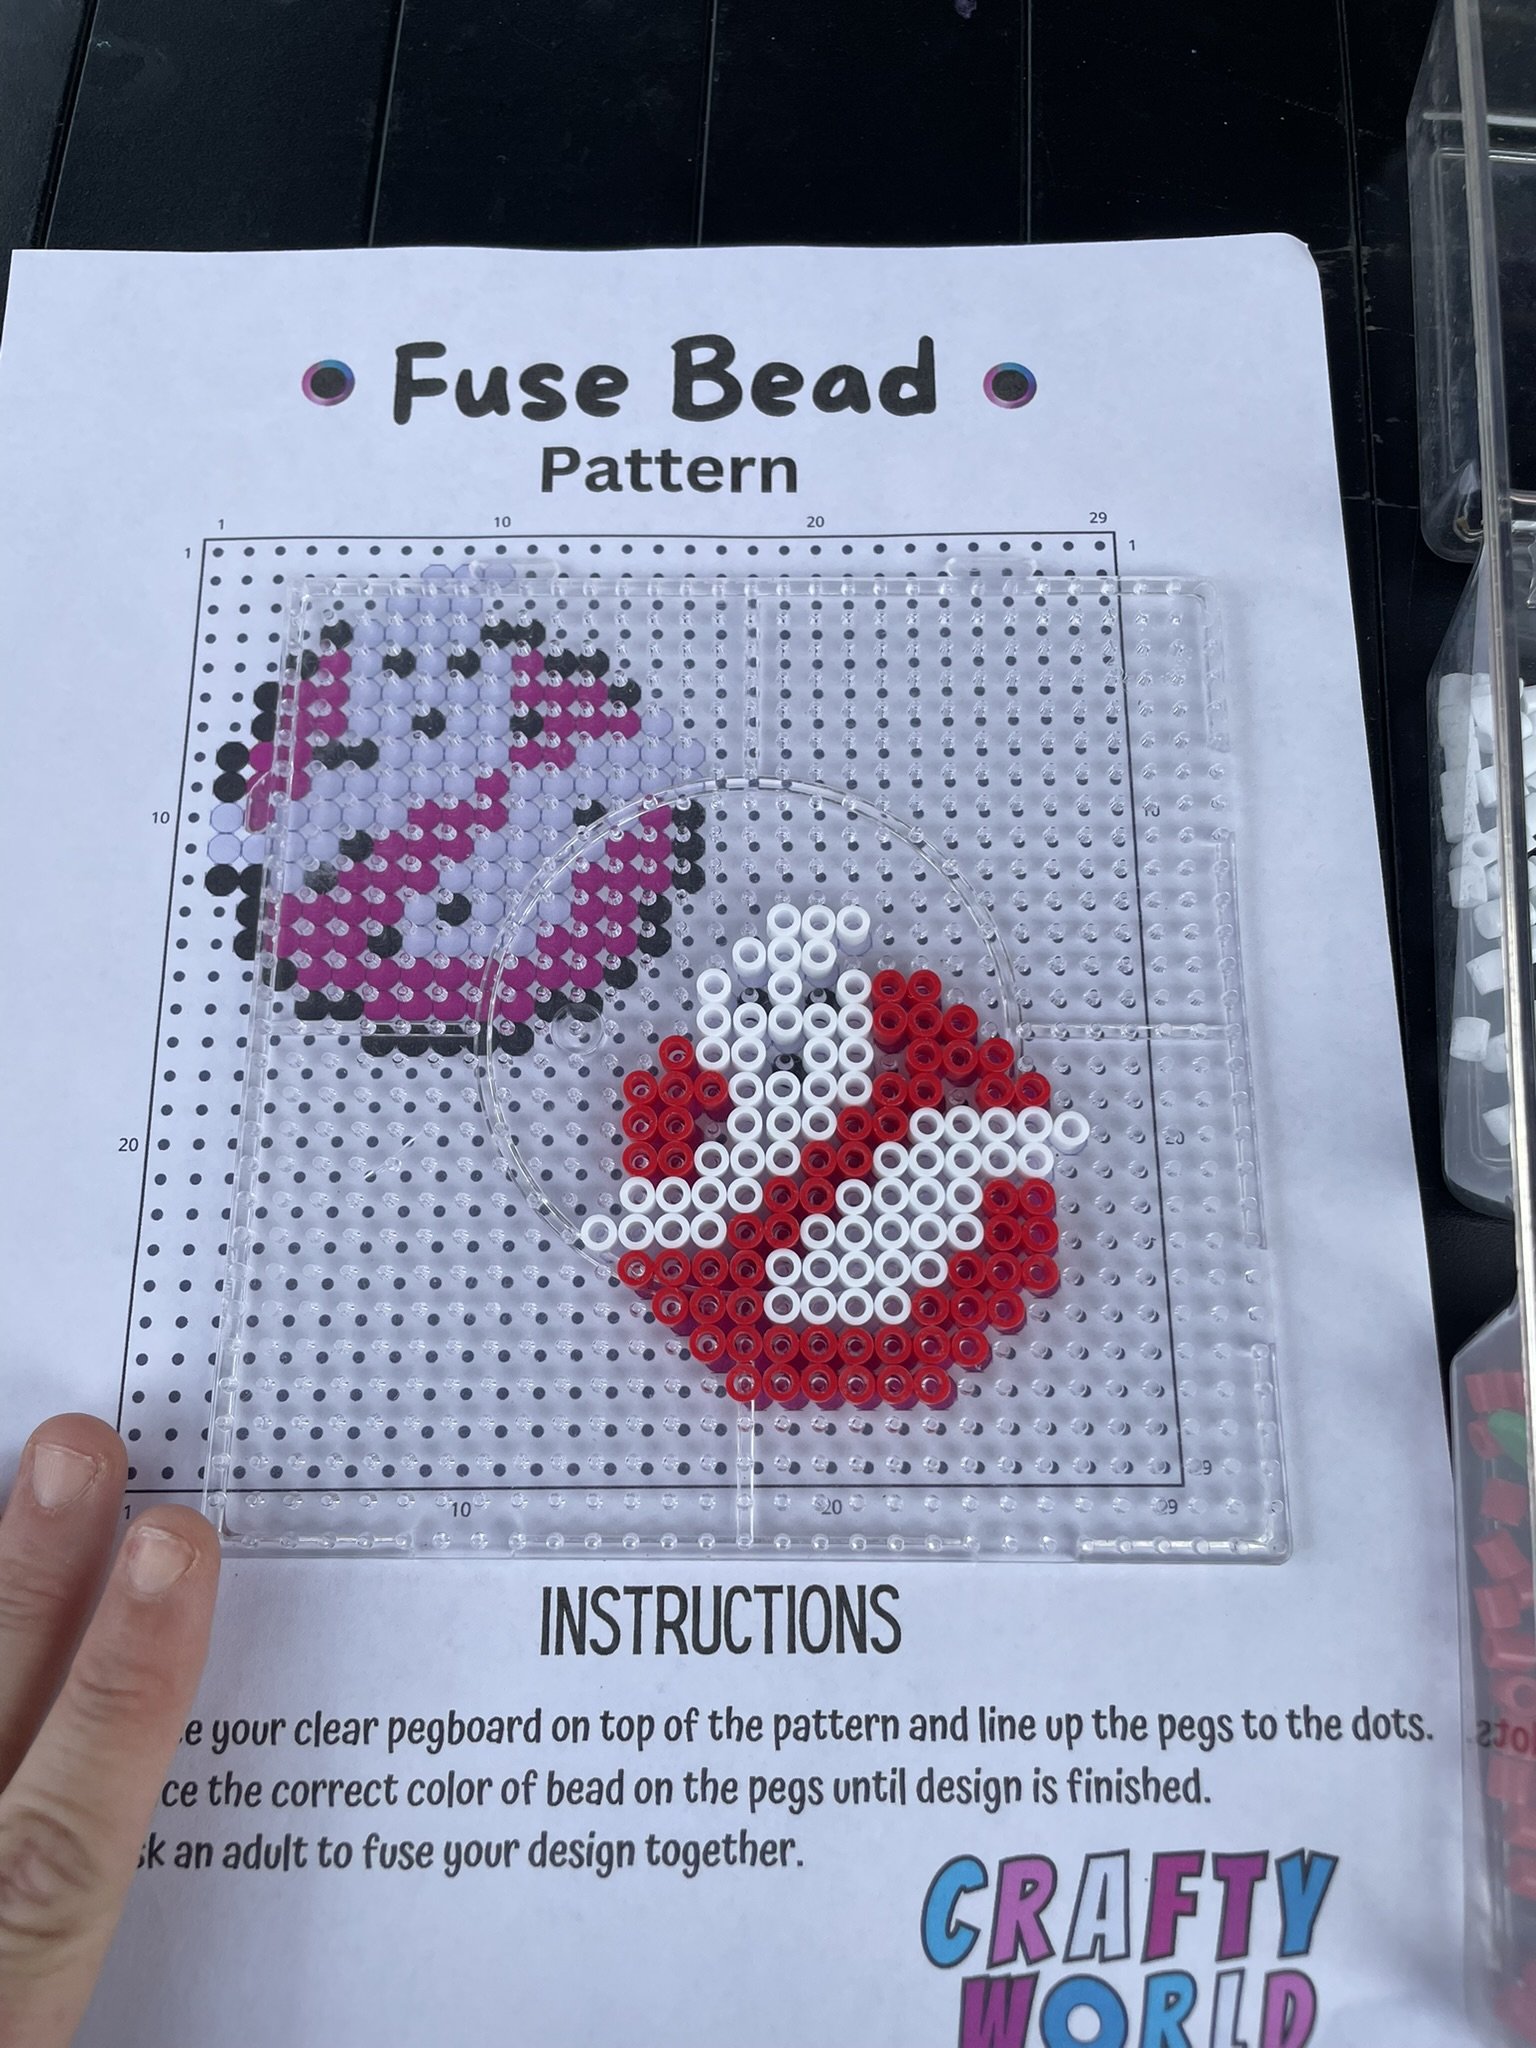
Choose a design you love and get your beads ready!
Download Your Pattern.
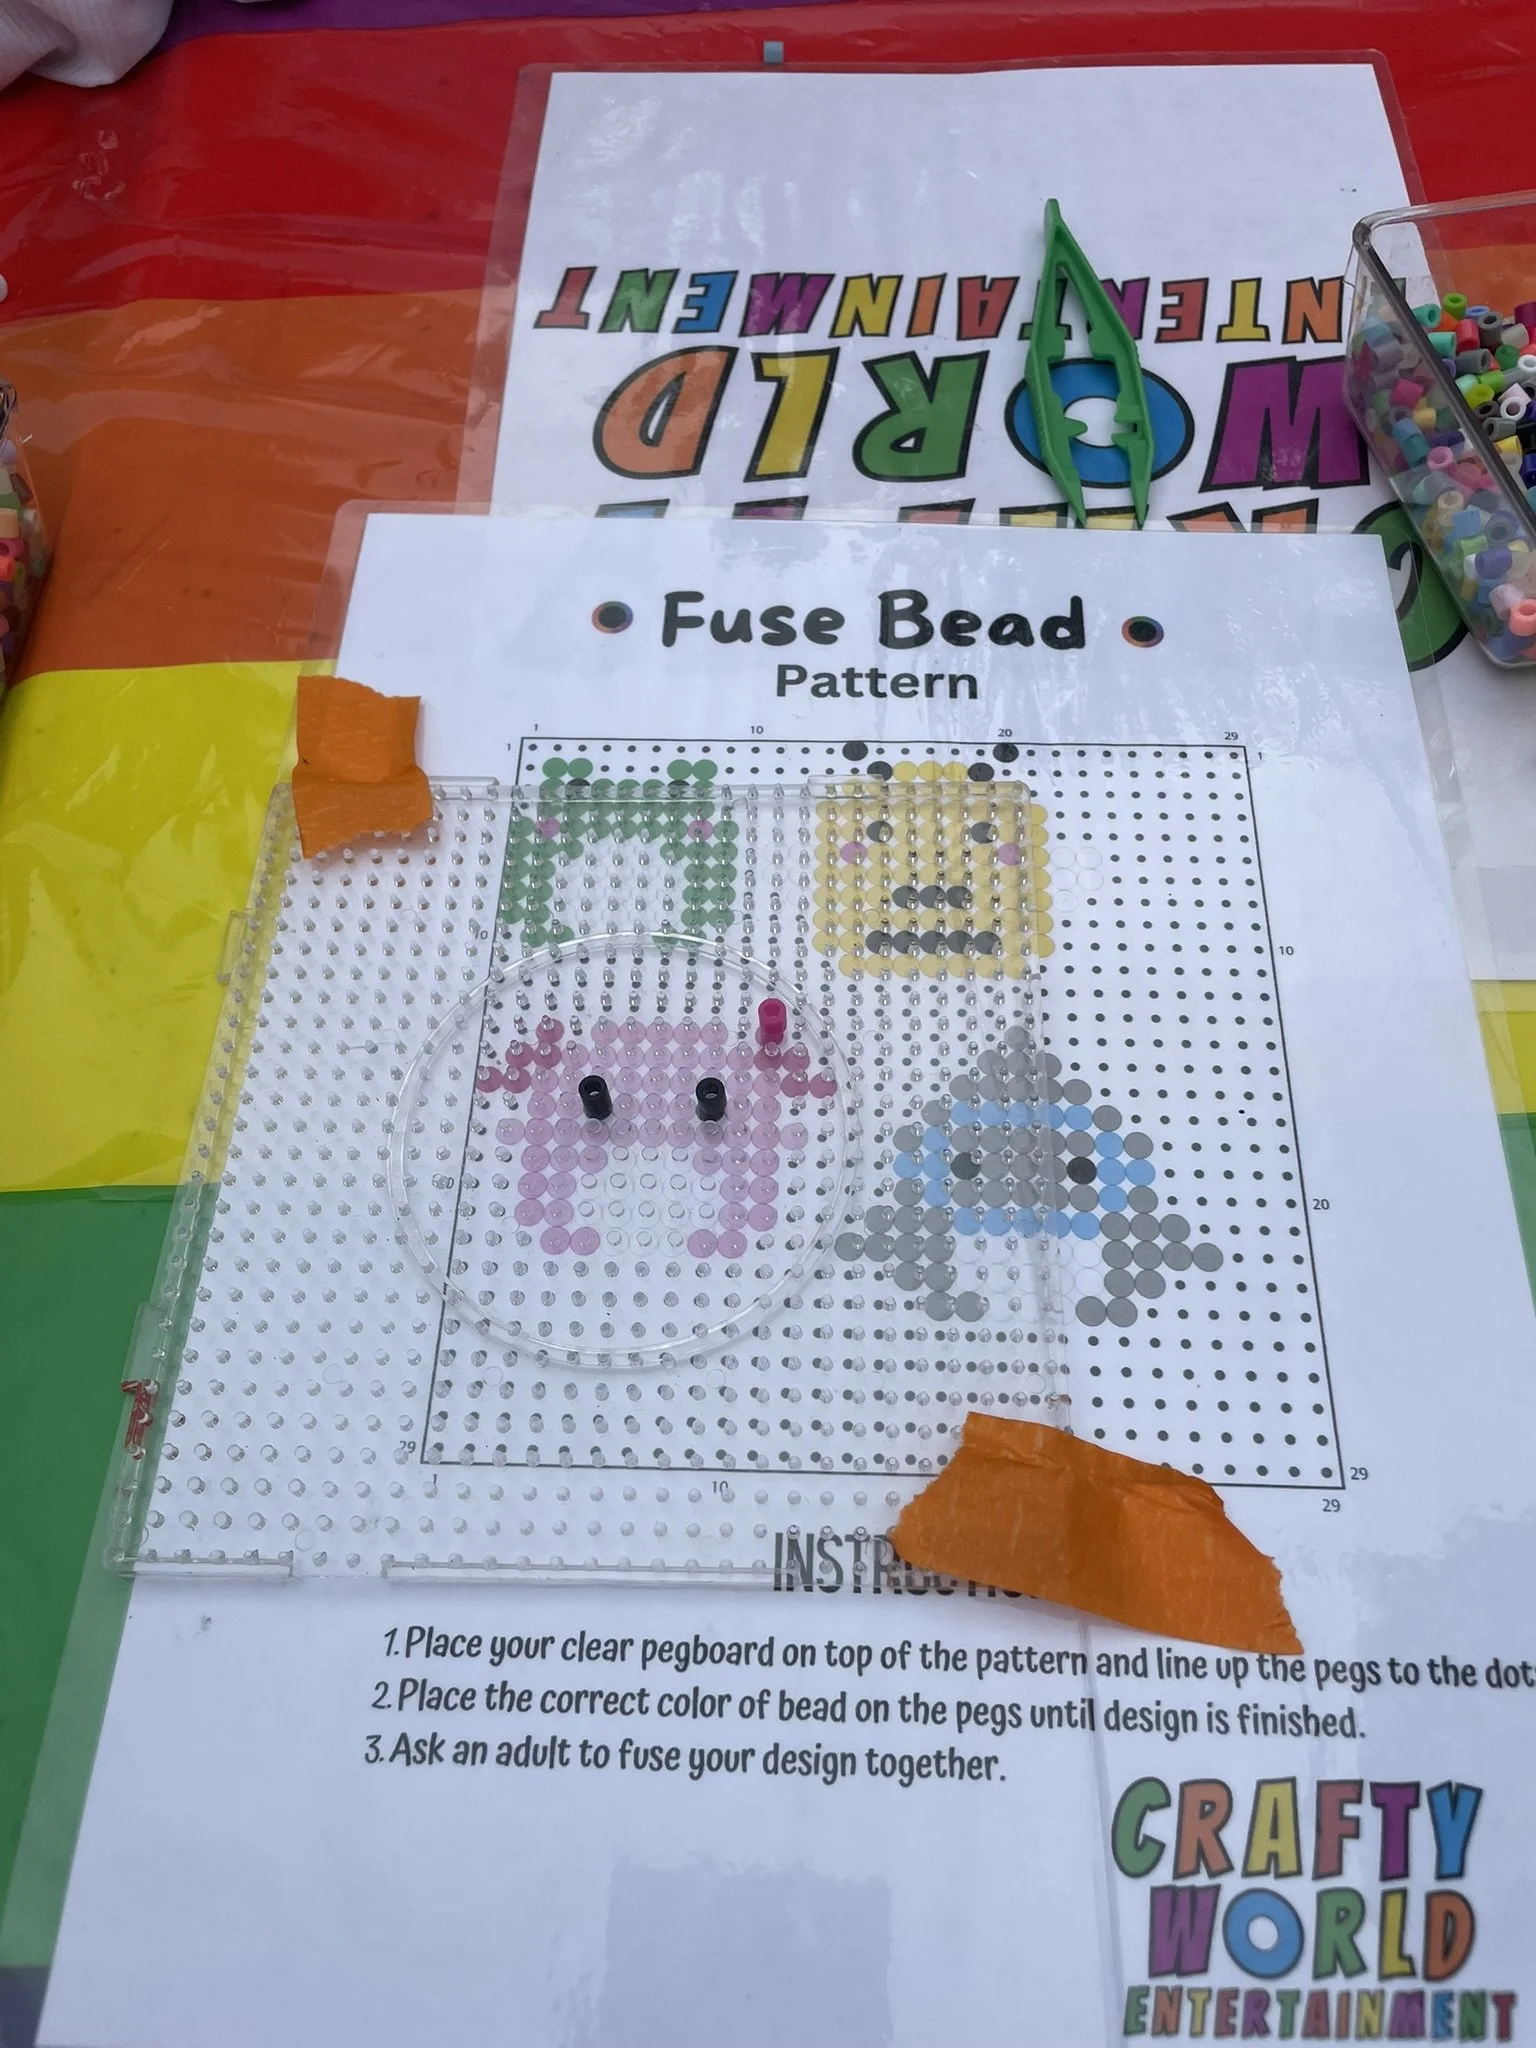
print AND line UP pattern.
Place a clear pegboard over your pattern, line up the pegs with the dots on the pattern.
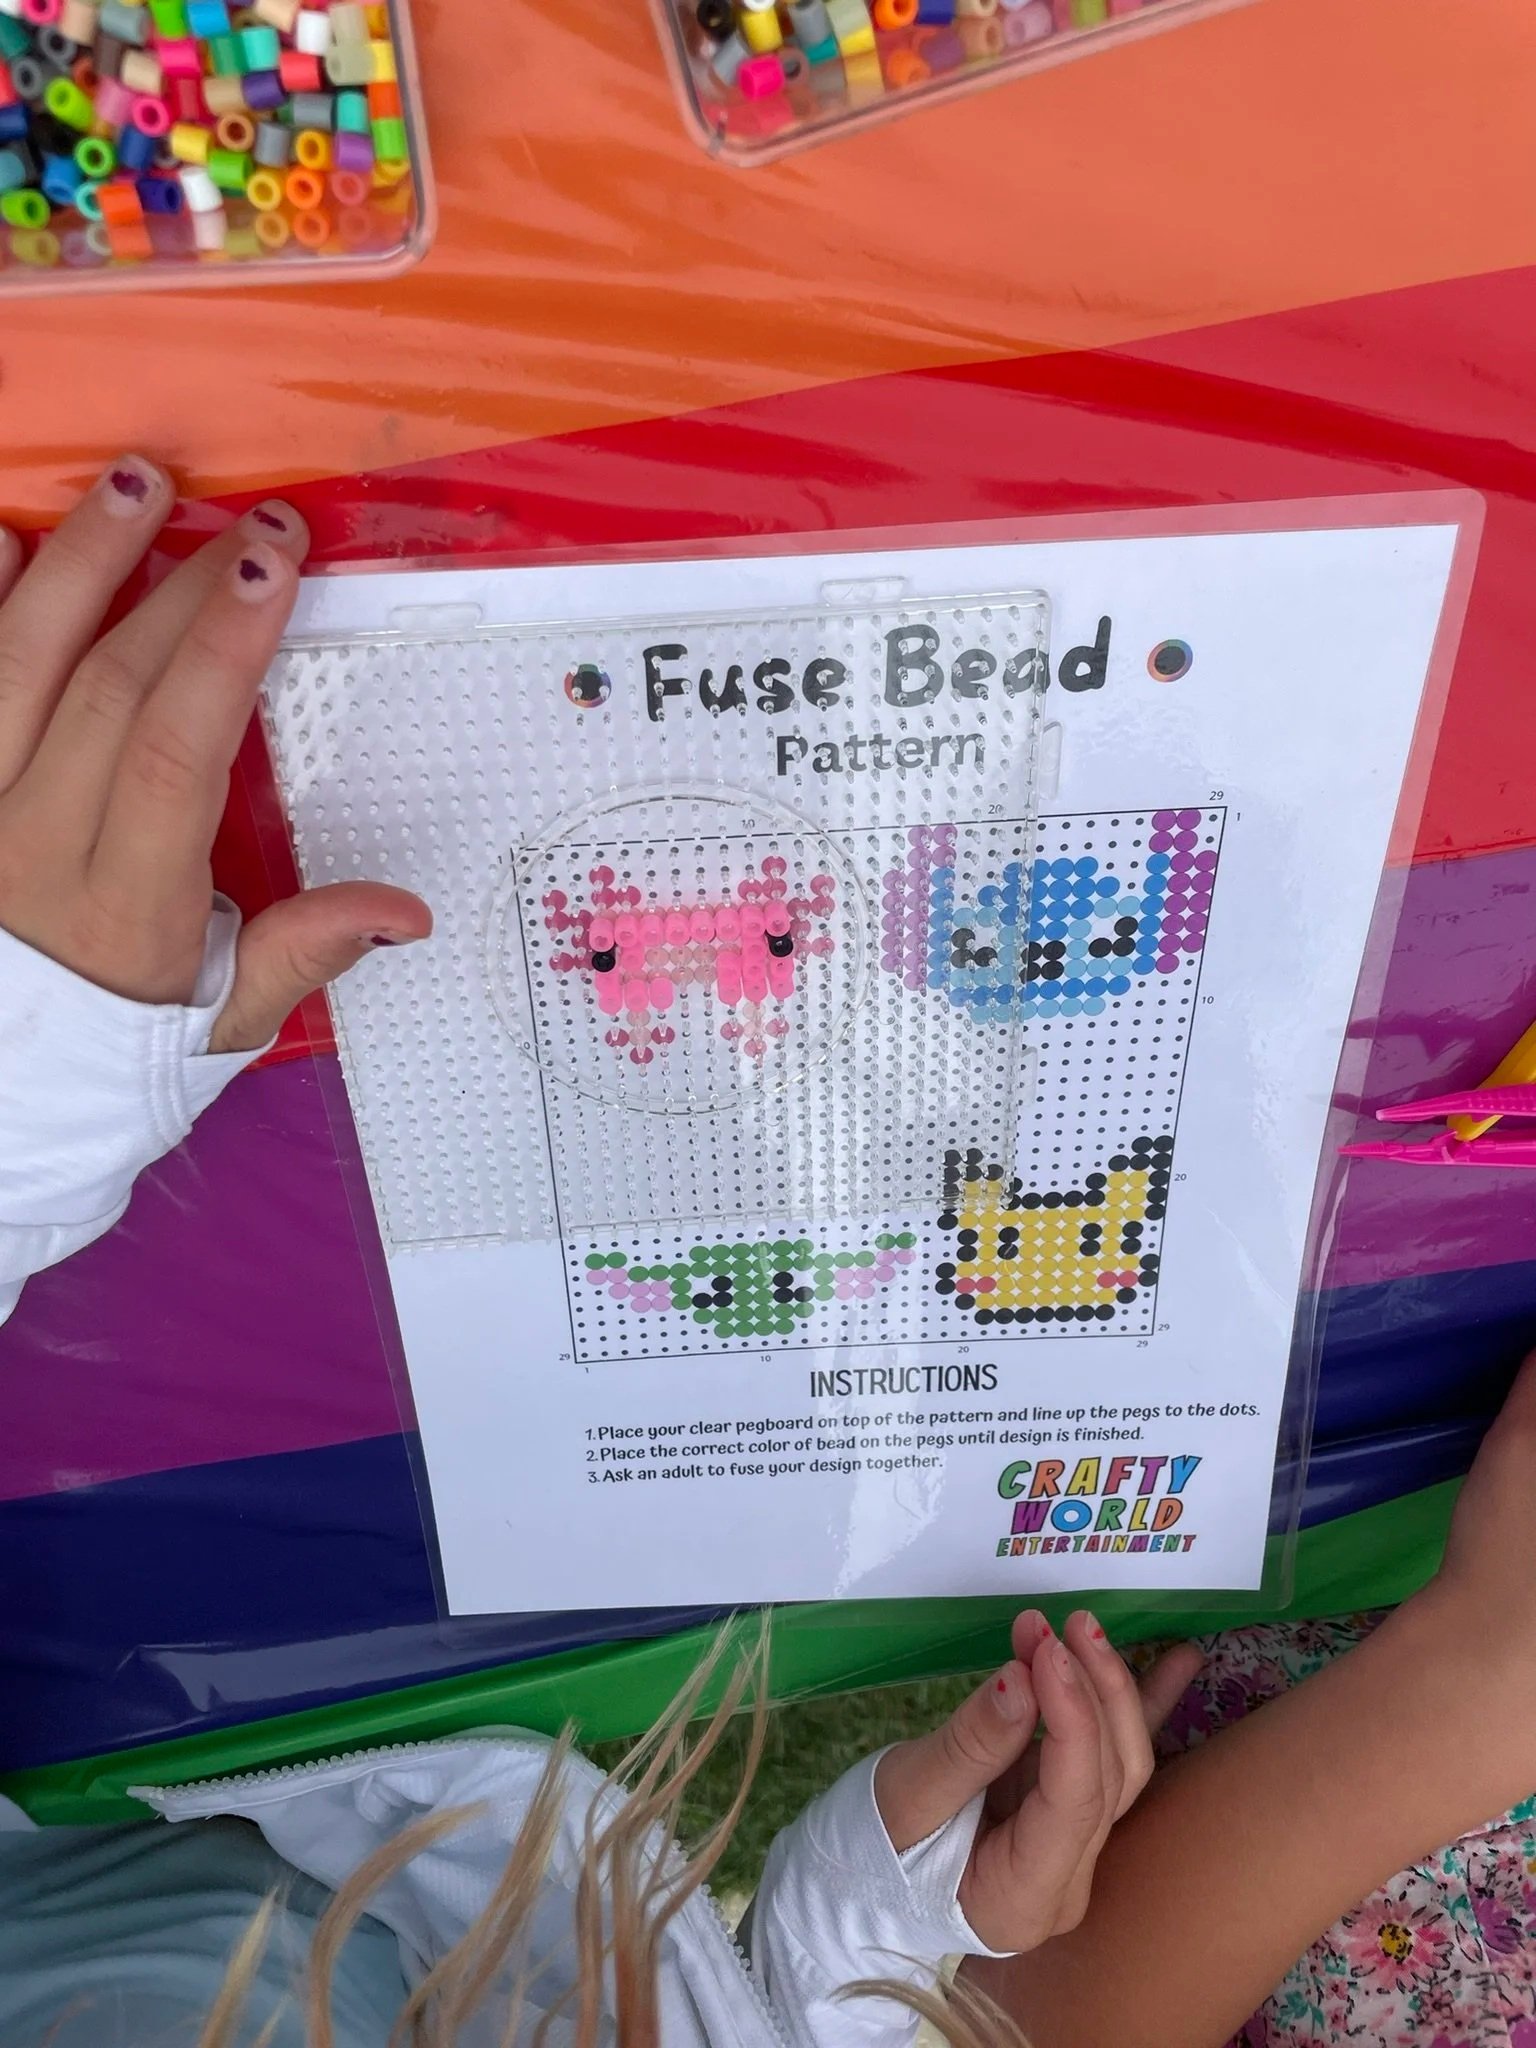
Match the colors to the pattern and place them on the pegboard until your design is complete!
Start Beading!

Have and adult iron your fuse beads.
Set the iron to the highest heat setting (no steam).
Place a sheet of parchment paper or ironing-safe paper over the fuse bead project.
Press the iron gently on top and move it in small circular motions for 30–45 seconds, or until the beads have fused together.
Let the piece cool completely.
Carefully flip the project over.
Cover the back with parchment paper or ironing-safe paper.
Iron the reverse side in the same small circular motion for another 30–45 seconds.
Let cool before handling.


